
Finally. Cuz I know you've been on the edge of your seat and all. I'll start by giving you some before pics. They're not that great, but you get the idea.
 |
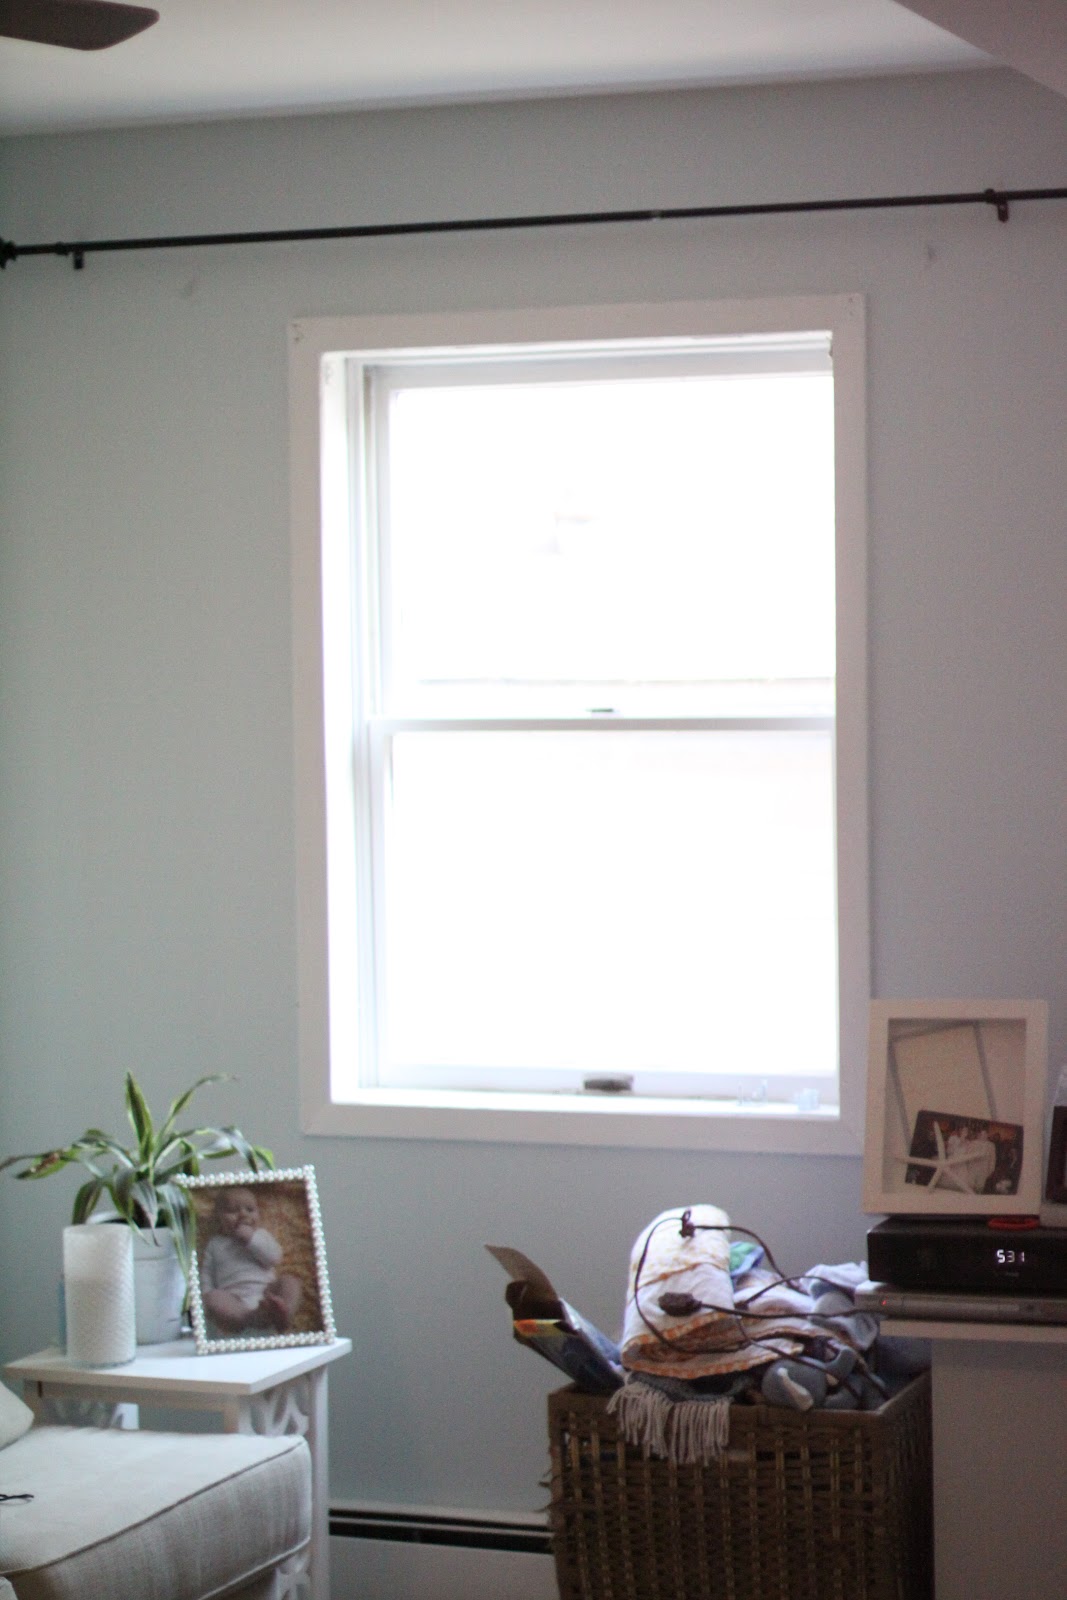
| Double window to the right of the fireplace, in the eat in kitchen |
 |
| Single, older window to the left of the fireplace, uncentered on that wall so you'll notice I've cheated the rod over to make the window look centered with curtains. |
 |
| this is the best pic I was able to take. Bay window in the front of the house/living room, just to the left of the above single window |
While we did have some sort of window treatment (not pictured), you can see that these windows were BEGGING for a proper window treatment, and our space is full of light blues and neutrals, so I was looking to add a fun, bold statement to the room.
So when my fabric (found and ordered from here) finally arrived, I hopped on over to YHL and loosely followed this tutorial. I honestly didn't write down anything I did, don't remember measurements or anything. So here's the very lacking-details-but-you-get-the-idea rundown.
I waited until the Goose was fast asleep to measure out and cut enough fabric for 6 curtains, two of which would be a few inches longer (half of our home has lower ceilings because it used to be a screened in porch).

 |
| I made the cuts on my bed...I absolutely love LOVE our bedding |
 |
| used an already cut piece of fabric to measure out my next cut |

After the six curtains were measured and cut, I wash and dried them totally forgot to prepare them. Because preparations for the Goose's baptism took over that night. On to the next night...
I pulled out the iron and my no-sew heat-n-bond.

I double checked all my measurements and okay'd them. I started by hemming the sides first. The fabric comes with an edge that perfectly lines out where the hemline should be. Score.
My plan of attack was to iron over where I wanted the hem to be before adding the new-sew bond, to make it easier to keep everything in place. It worked great for a usually uncrafty person such as myself.


After I finished both sides, I was on to the top and bottom. To make it easier on myself, instead of measuring out exactly where the hemline should be, I just eyeballed the straight line according to the "peaks" of the chevron pattern. It actually worked out very well.

And then my camera died.
Sans pictures, all that was left to do was attach my curtain rings (bought at Target) and then slide those babies onto my curtain rods (also bought at Target). And then TahDah. New curtains.
As per my usual disappointing nature, I haven't gotten a good after pic. Those are to come. In the meantime, here's a sneak peak...

Have you done any DIY curtains lately? Or were you able to find something you loved for a great price, unlike myself (if so, please share)?
No comments:
Post a Comment